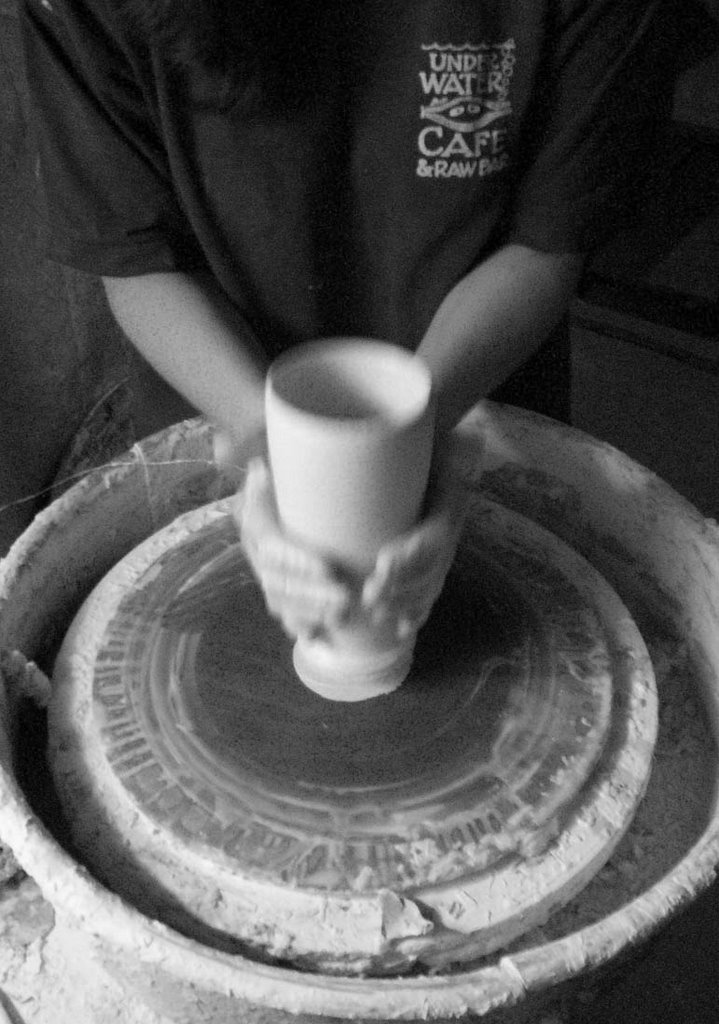
On the mom front, school is winding down which means lots of concerts and events that I'm having to part-take in. I'm also planning on teaching a summer camp for the high schoolers and discovered that the schools wheels are in much need of repair. With gas being the way that it is I have been spending of a lot of time conserving all my trips into one so I have had less down time at home for blogging. Summer will soon be here and I plan on staying close to home.
I thought I'd post a little "how to" for anyone that has always wondered how one makes those cool swirls on the bottom of their cups. I don't buy my pull-string but instead go to M
 icheal's or Walmart and get some jewelry wire.
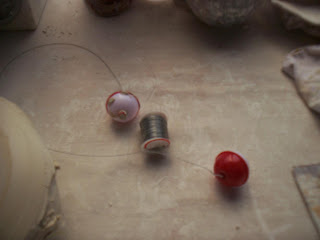
Step #1 Here in the photo's I've attached you'll see some fishing bobbers that a student gave me. You can pretty much use these or large bolts from a screw. You need to be able to tie two pieces of jewelry wire to whatever you want to hold onto while pulling the wire under your pot.
 Step #2 You than take a large wad of clay and put it in the center of your wheel head with the bobber/screw ( that has the two pieces of wire attached to it)and securely stick it in the middle of your clay wad.
( hey, this kind of looks like a chocolate pie with whip-cream and a cherry!)
Step #3 Hold onto the two ends and start your wheel. As the wheel goes around the wire will twist and you just hold on till the end.
Step #4 After you have twisted the wires together, let go of the slack so it can relax a bit and tie the end with another object you can hold onto.
Very simple!
Tonight is class so I'm off to go plan for the night!


4 comments:
well that wasn't the intent for the bobbers, but hey if it works! Also, thanks for the tip about making the twisted wire. I'm going to have to try that now.
Angela
Angela..I knew I would not keep up with the shamey. Can you see that with all my rusted tools! But hey...those bobbers are great for the pull tool! Jen
I've never heard that called a 'pull string' before. I make mine the same way, I found those synthetic corks from wine bottles work well as toggles also.
( I make up my own names for stuff) That should not surprise you.
Boy we have so many corks around here I could go into business making those things!
Post a Comment